Blogs
2025.04.08
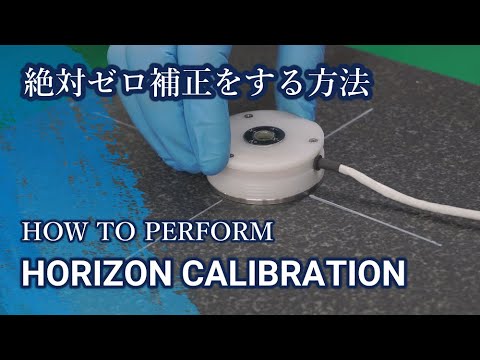
About Absolute Zero Compensation

Conventional bubble-type precision levels usually have an adjusting screw (adjusting bolt) that adjusts the zero-point misalignment so that the precision level’s zero point can be adjusted to the correct horizontal zero state.
Our digital level has a function called “absolute zero correction” to adjust the zero-point misalignment.
Important operating points are as follows.
(1) When pressing the 1st time Measure and 2nd time Measure buttons, be sure to press them when the angle data is stable.
(2) When shifting from 1st time Measure to 2nd time Measure, reverse the sensor 180 degrees at the same location, and perform 2nd time Measure at the exact same location and position.
Although a stone surface plate will generally maintain the same level at all positions, this is not always the case. The positions on a stone surface plate that are always used for measurement are slightly worn away, so the level condition differs between the positions that are always used and the positions that are not used very often. Furthermore, if the position is different on a level plate that is not a stone surface plate (metal plate, smooth-surfaced desk, etc.), it will not maintain the same level due to warping, tilting, scratches, dents, and so on.
For more accurate absolute zero correction, the second time measure operation should be performed at the exact same location and position, and flipped by less than 180° ±1° (180° inversion is not approximate).
(A 180-degree inversion should not be approximate. (A reversal angle of 175 degrees, 185 degrees, etc. is a meaningless correction.)

